Installing the front clip...
Fortunately, we had an original RS front clip to verify the location of all RS headlight, engine bay components, wiring, and vacuum lines. I also compared pictures in Jerry MacNeish's Difinitive '69 Z28 Fact Book, '69 Camaro Assembly manual and '69 Chevy Chassis Service manual.IMPORTANT NOTE: I used a reproduction radiator core support and if at all possible, you should use an original GM core support. We had a really hard time aligning the sheetmetal to finally get the fenders square with the hood!!! I will never install a reproduction core support again!!! Click on any image to enlarge. |
|
|
Before The Fenders Went On...
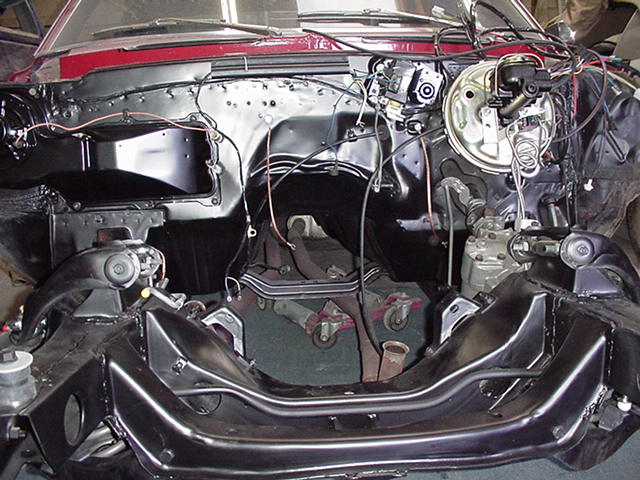
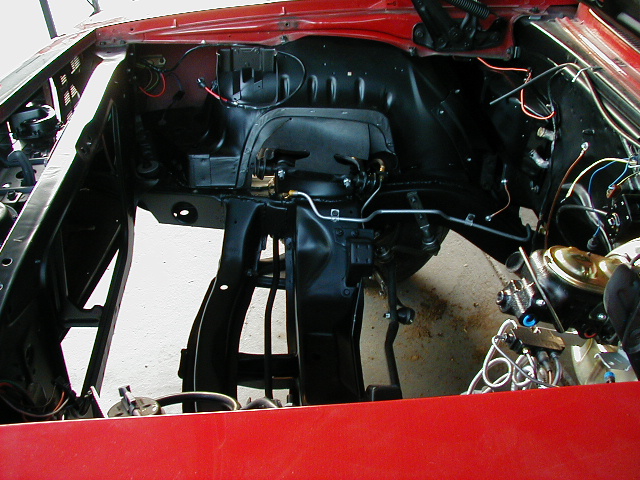
Prior to installing the radiator core support and fenders, the power brake booster, master cylinder, brake lines and proportioning valve & brake switch were installed. The heater box was restored and painted 60% gloss black prior to installation. The new wiring harnesses, wire gutter, headligt vacuum lines and new firewall grommets were installed. |
Radiator Core Support And Fenders
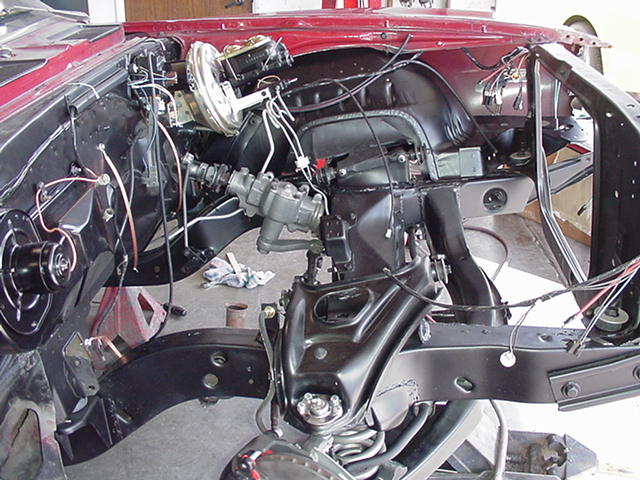
The radiator core support is installed with new bushings but left loose until the fenders and hood are installed. The core support mounting is where the adjustment is made to square the hood with the fenders. Next, the left side inner fenderwell and fender are installed. The inner fenderwells received new mudflaps and staples. The forward light harness is now routed and secured to the inner fenderwell and radiator support. |
|
|
|
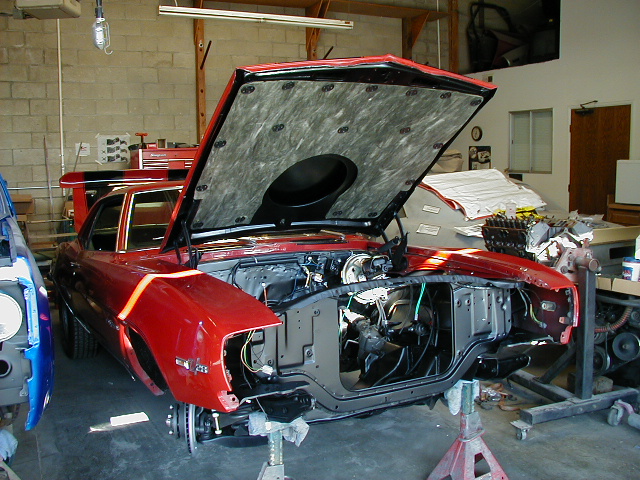
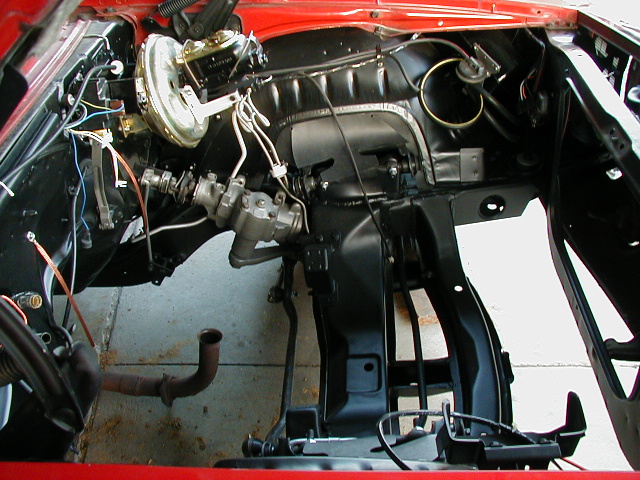
With The Right Side Installed...
It's starting to come together. Next on the list is the RS headlight components, header panel, lower valance, grill and front bumper. |
A New Experience...Installing The RS Headlight Components
Sicne I have never worked on an RS before, I enjoyed learning how all of the headlight components fit together. The headlight assemblies were cleaned, repainted and reinstalled. Some of the headlight components need replacing, but they were restored as well as we could get them. My budget didn't allow for full restoration of the headlight assemblies which will be something I will have to do in the future.
|
|
|
|
New Color Coded Headlight Vacuum Lines
This was the tricky part. The diagram that comes with the vacuum line set isn't real clear, so this is where having an RS front clip lying around came in handy. After comparing the front clip and several resoration manuals, I was able to route the vacuum lines as close to factory as possible. I also restored my vacuum canister and vacuum switch. |
It's The Details That Matter...
Some of the finishing touches included beadblasting, cleaning and painting the horns, battery tray, windshield washer bottle bracket, hood release, hood latch and hood hinges. I also installed new ground straps, voltage regulator, and horn relay. I do have the original voltage regulator and horn relay. They will be restored as budget permits. A new front sheetmetal bolt/screw set helped to really detail out the engine compartment.
|
|
|
|
Ready For The Engine And Trans
September 2000
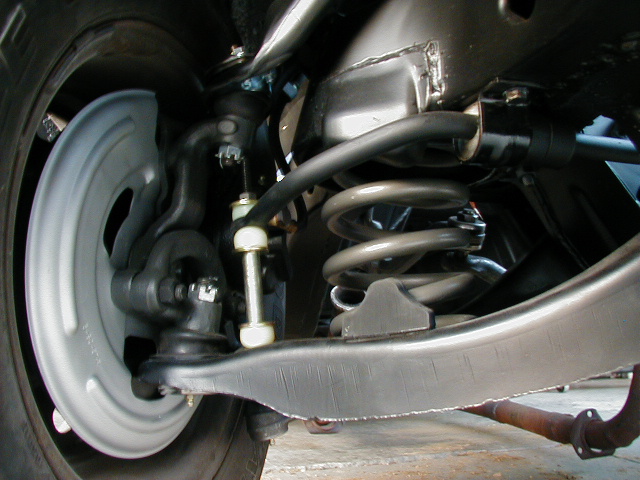
Now, the rolling chassis is ready to take home and drop in the engine & trans. Chris did an great job on the sub-frame!
Finished Suspension
|

 Front Sheet Metal Assembly