|
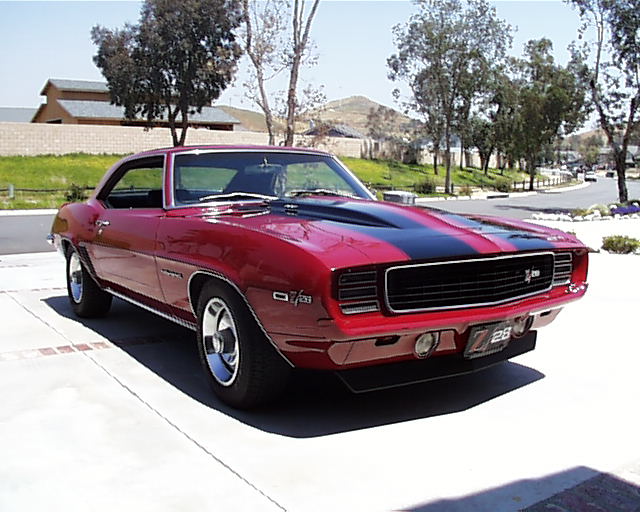
The Beginning Of The Restoration Process... A Long And Expensive Road Ahead...
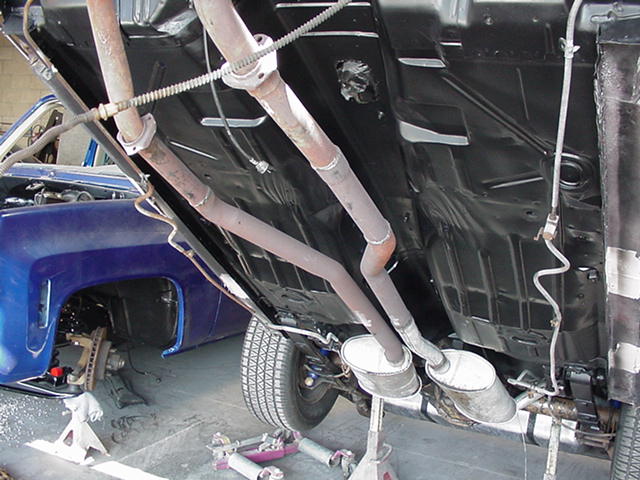
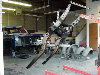
When the car was torn down, it was amazing to see how 31 years of driving, road grime, and grease had taken its toll on the frame and undercarraige. I was fortunate to be able to start with a car that was virtually rust free. However, it was far from perfect. But, the sub-frame was in good shape and the floor pans and trunk pan are perfect.
Click on an image for a full size view.
|
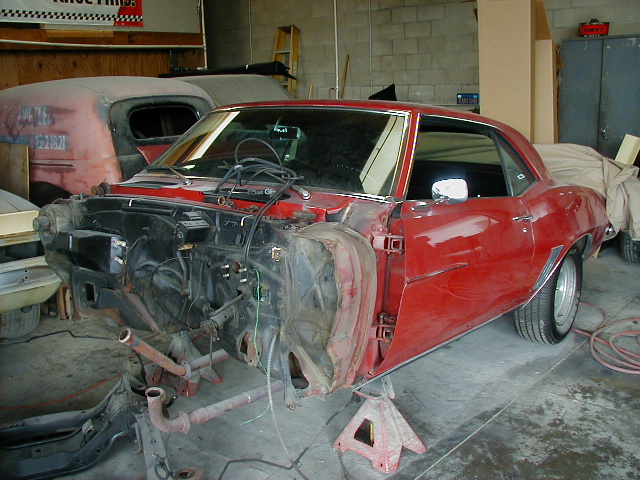
Looks Bad Now...July, 2000
NOTE:
I saved all parts including every bolt until the restoration is completed. You may have to restore parts or bolts that you are unable to replace new.Several holes in the fire wall and floor pan will be filled with the welder prior to painting the undercarraige.
|
|
  Before The Teardown
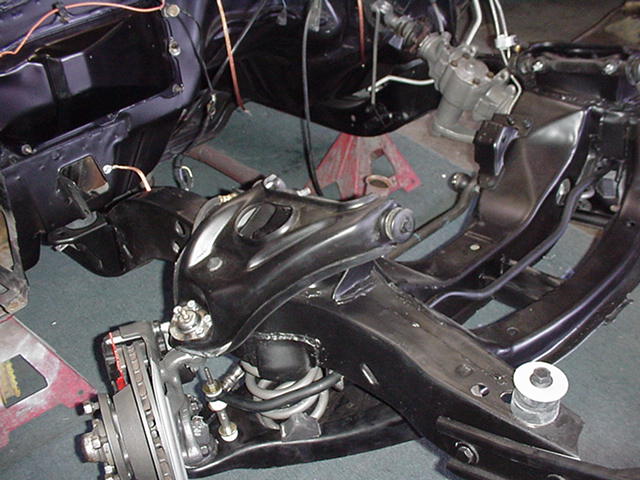
The car is undergoing a complete sub-frame rebuild and restoration. The body, paint and interior are in great shape so, the engine compartment and drive train are the main focus. Included will be bead blasting and complete repainting of the sub-frame, fire wall, undercarraige, radiator support, and A-arms in 30% gloss black. The steering components will also be cleaned, bead blasted and restored to factory condition. New parts include A-arm bushings and ball joints, sway bar bushings, sub-frame bushings, new wiring harnesses, complete front disc brake restoration, (see pic below), brake lines, and matching power brake booster and master cylinder.If you are restoring a car that is all original and complete, it is crucial to photograph and document all phases of disassembly, especially inspection markings, paper tags and decals so you can dupicate their location during assembly. |
|
Click On The Pics And Thumbnails For Full Size Images
Chris Cox of Camaros Only, La Habra, Califonia is taking care of the sub-frame restoration. Chris is a master at body and frame restoration. As you can see, he does incredible work. Click on the "Front Sheetmetal Assembly" page for pictures of the finished engine compartment.
camarosonly@earthlink.net
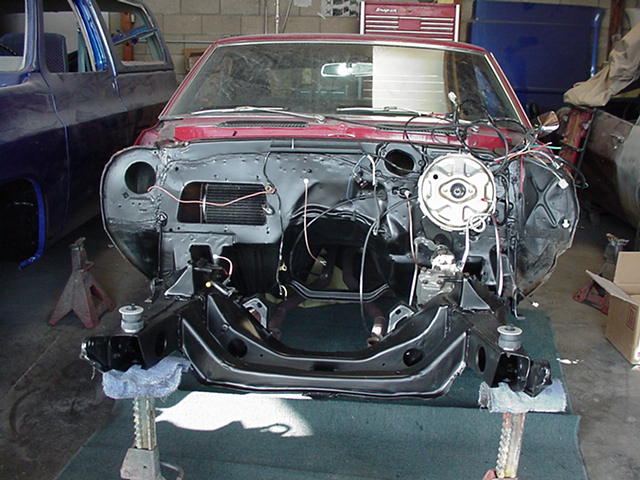
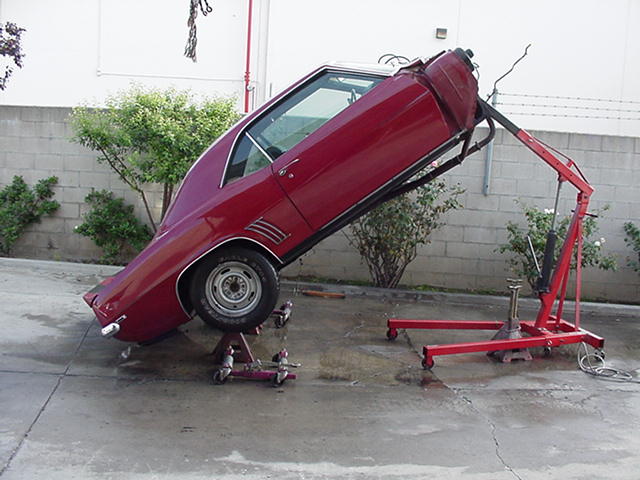
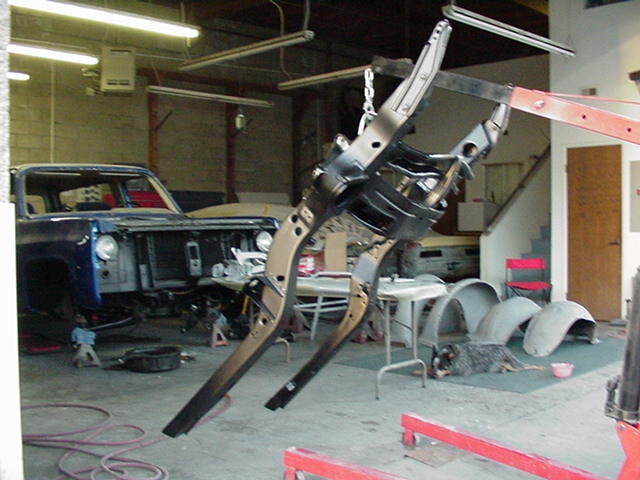
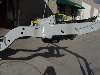
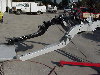
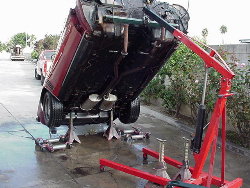 Note the engine hoist is bolted to the front sub-frame mounting holes.This is a great idea if you have to work on the ground.  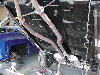
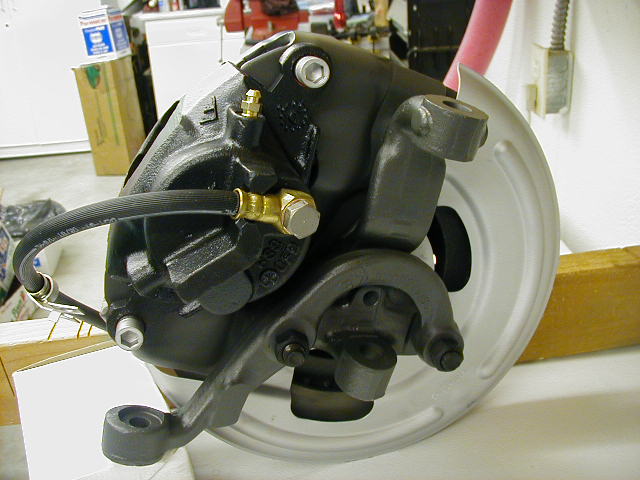
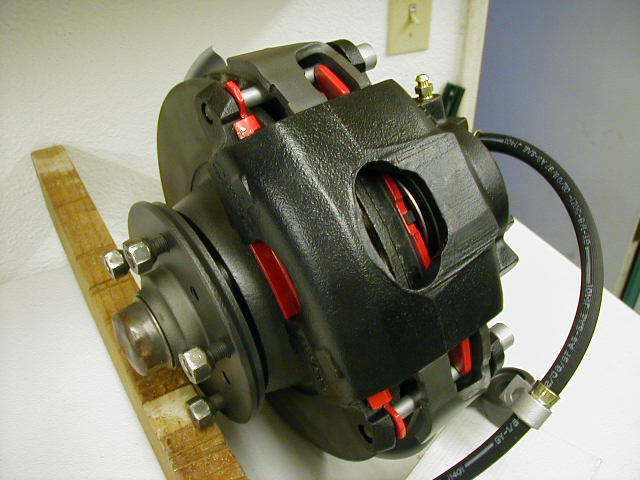
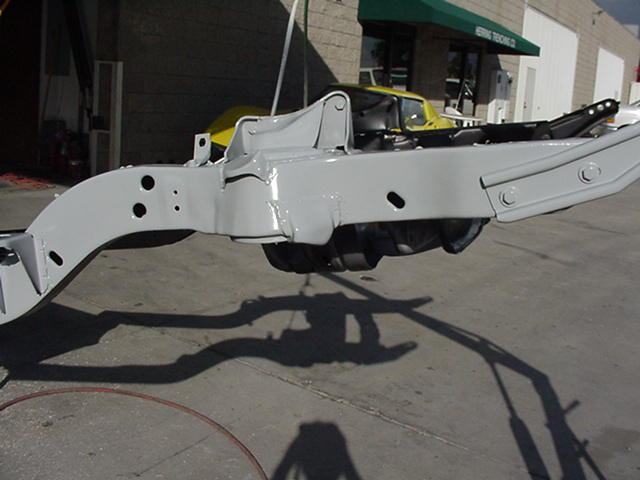
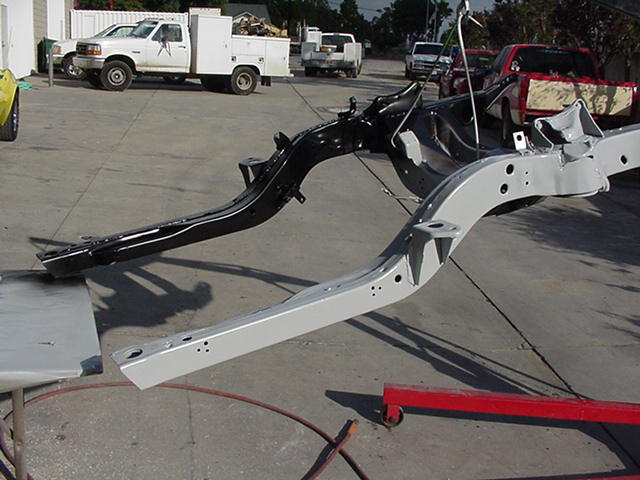
The sub-frame was bead blasted, cleaned and primered prior to receiving its final coat of 30% gloss black laquer. The sub-frame and new bushings are ready to be installed . 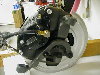 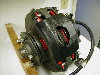 I spent about 12 hours restoring the front disc brakes. Everything was disassembled, bead blasted and repainted. I rebuilt the calipers, repacked the wheel bearings, installed new brake hardware, hoses, bleeder screws, and installed Raybestos Semi-Metallic/Carbon pads. I saved several hundred dollares by doing the work myself. All the new parts cost about one hundred and sixty dollars. Since this is going to be a driver, I decided to paint the backing plates and caliper mounting brackets. The gold and silver cadmium plating would be an extra one hundred and twenty five dollars. I spent about 12 hours restoring the front disc brakes. Everything was disassembled, bead blasted and repainted. I rebuilt the calipers, repacked the wheel bearings, installed new brake hardware, hoses, bleeder screws, and installed Raybestos Semi-Metallic/Carbon pads. I saved several hundred dollares by doing the work myself. All the new parts cost about one hundred and sixty dollars. Since this is going to be a driver, I decided to paint the backing plates and caliper mounting brackets. The gold and silver cadmium plating would be an extra one hundred and twenty five dollars.
|
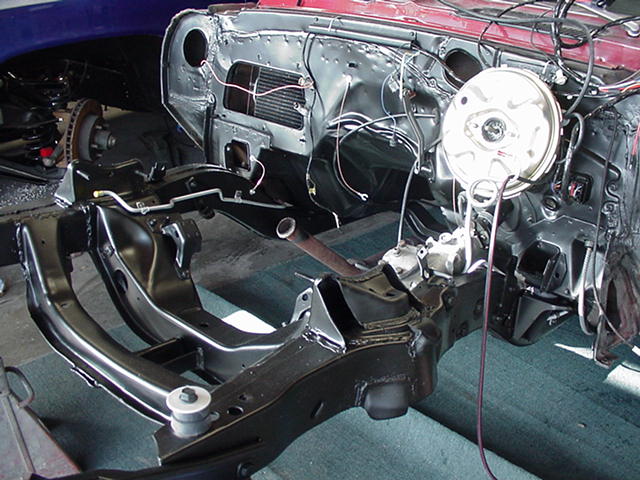
Sub-Frame Installation...
The Beginning Of The Assembly ProcessSeptember, 2000
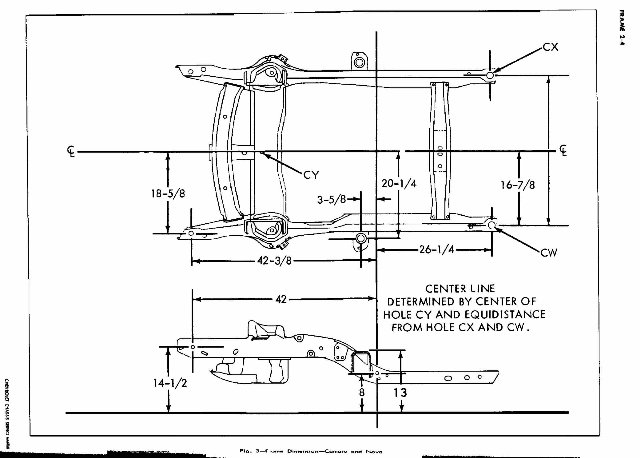
All new suspension components were installed; A-arm bushings, ball joints, swaybar bushings, etc. Plus the A-arms, coil springs, swaybar, disc brake assemblies and steering components were fully restored. The new power brake booster was also installed prior to the suspension. Click on the above thumbnail for detailed measurements on aligning the subframe. Click on the above thumbnail for detailed measurements on aligning the subframe.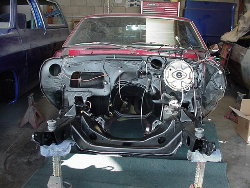 The Suspension Is Next 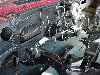 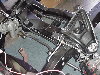
|
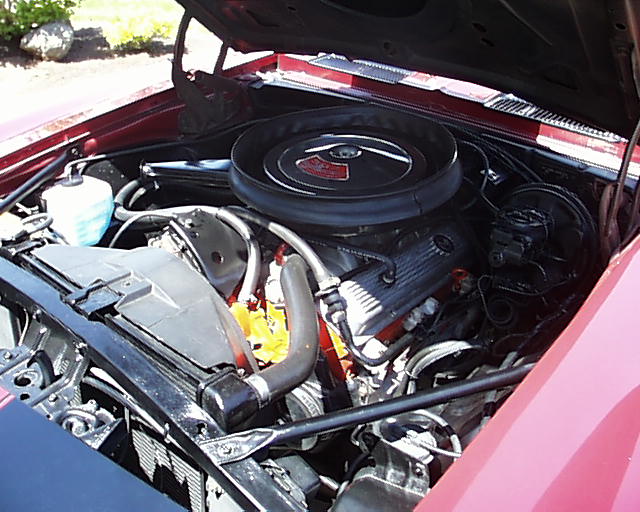
Finished SuspensionOctober, 2000
|

 Sub-Frame Removal And Restoration